
Imagine having your own AI assistant that works for you 24 hours a day — replying to messages, running workflows, chatting with users, and automating tasks even while you are sleeping.
That is exactly what modern AI agents like OpenClaw can do. But there is one small problem: if you run these AI agents on your local computer, everything stops the moment your computer shuts down. Your AI assistant goes offline every time your laptop lid closes.
And that is where a VPS becomes incredibly powerful.
Once your AI agent is running on a VPS, it stays online 24 hours a day, 7 days a week — without any interruptions. In this tutorial, I am going to show you exactly how to install OpenClaw on a Hostinger VPS step by step. The best part is that Hostinger has made this process extremely simple using their built-in Docker Manager with a one-click deploy feature.

Save more: Use coupon code VASHISHTHA10 when signing up for Hostinger VPS to get extra savings on your plan.
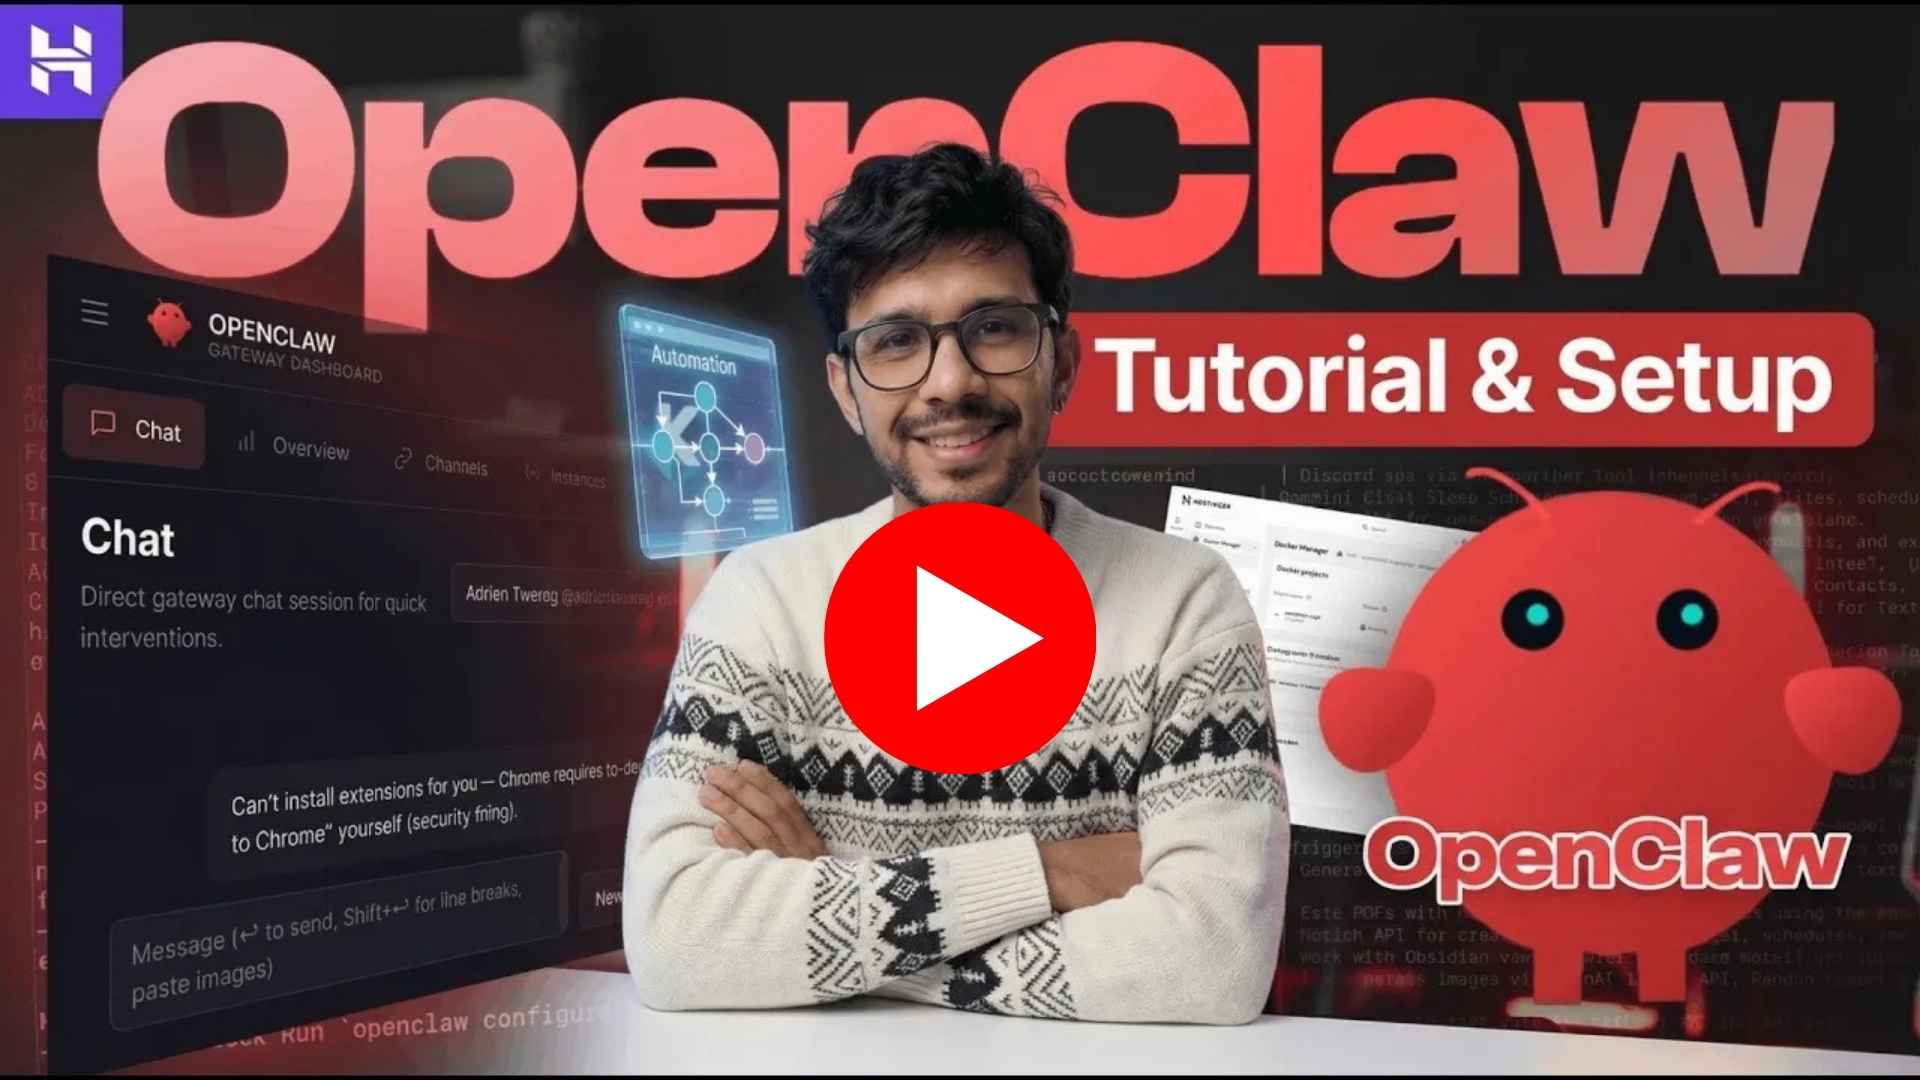
What is OpenClaw?
OpenClaw is an AI assistant platform that lets you deploy a fully functional chatbot connected to the messaging apps you already use every day.
Instead of building complicated AI infrastructure yourself, you simply deploy OpenClaw, connect it to your preferred messaging channel, and your AI assistant starts responding to messages and running automated tasks immediately.
OpenClaw supports these messaging platforms:
- Telegram
- Discord
- Slack
- Google Chat
Once connected, your AI agent can answer questions, trigger automations, run workflows, and handle tasks — all through familiar chat interfaces your team or customers already use.
Why Run OpenClaw on a VPS Instead of Your Local Computer?
This is the most important question before you start, and the answer is simple:
Local computer = downtime every time you close your laptop.
VPS = 24/7 uptime with no interruptions.
Here is a direct comparison:
| Local Computer | Hostinger VPS | |
|---|---|---|
| Uptime | Only when PC is on | 24/7 always on |
| WhatsApp replies | Offline when sleeping | Instant at any hour |
| Reliability | Dependent on power/internet | Datacenter-grade infrastructure |
| Access | Only from your machine | From anywhere |
| Cost | Free but unreliable | From $8.99/month |
| Setup complexity | Simple | Simple (Docker Manager) |
For anyone serious about running an AI agent — whether for personal automation, a business chatbot, or a client service — a VPS is the only real option.
Why Hostinger VPS for OpenClaw?
There are many VPS providers out there, but Hostinger stands out for this specific use case for several reasons:
- Docker Manager built into the control panel — No command-line Docker knowledge required
- One-click deploy from catalog — OpenClaw is already in the app catalog, ready to install
- 10 free AI credits included — Hostinger provides 10 credits (≈$10 value) using Nexus AI API so you can start immediately without your own API key
- Affordable KVM plans — Starting from $8.99/month with dedicated resources
- Web-based SSH terminal — Manage your server without installing anything
Requirements Before You Start
Before we begin, here is everything you need:
- A Hostinger KVM VPS — minimum 2 GB RAM (KVM 1 or KVM 2 both work)
- An AI model API key (optional — Hostinger provides 10 free credits to get started) — you can use OpenAI, Anthropic, Google Gemini, or Grok
- A messaging channel — WhatsApp or Telegram (this tutorial uses WhatsApp)
- A domain name (optional, but recommended for HTTPS access without SSH tunneling)
Hostinger VPS Plans and Pricing
For running OpenClaw, you need at least 2 GB of RAM. The KVM 2 plan is the recommended option and gives you plenty of headroom.
| Spec | KVM 1 | KVM 2 |
|---|---|---|
| vCPU | 1 core | 2 cores |
| RAM | 4 GB | 8 GB |
| NVMe storage | 50 GB | 100 GB |
| Bandwidth | Unlimited | Unlimited |
| Price (24-month) | ~$5.99/mo | ~$8.99/mo |
India pricing: The KVM 2 plan is approximately ₹799/month when billed for 24 months. This is the most cost-effective option.
The 24-month plan is the cheapest per-month rate. If you want flexibility, monthly plans are also available.
Get Hostinger VPS with Code VASHISHTHA10
How to Install OpenClaw on Hostinger VPS: Step-by-Step
Step 1 — Purchase and Set Up Your Hostinger VPS
Go to Hostinger VPS and purchase a KVM 1 or KVM 2 plan. Apply coupon code VASHISHTHA10 at checkout for an extra discount.
After purchase, your VPS setup will not be complete immediately. You will see a Set Up button in your hPanel dashboard. Click it to open the setup wizard.
In the setup wizard:
-
Choose your server location — Germany is a solid choice as it provides average latency globally, but pick the region closest to your audience or use case.
-
Install an operating system — Select Ubuntu 24.04 LTS. This is the recommended OS for Docker workloads.
-
Set your root password — Create a strong password and save it somewhere secure (a password manager is ideal).
-
Add an SSH key (optional but recommended) — If you know how to generate SSH keys, paste your public key here. This lets you log in without a password.
-
Enable additional features — You will see toggles for Malware Scanner and Docker Manager. Enable both. The Docker Manager is essential — it is what makes one-click OpenClaw deployment possible.
-
Click Finish Setup.
Your VPS will take approximately 3 to 5 minutes to fully provision. You will see a progress bar and a "Well done, you are ready" screen when it is complete.
Step 2 — Deploy OpenClaw Using Docker Manager
Once your VPS is set up, go to your VPS dashboard and click on Docker Manager in the left menu.
You will land on the Projects tab, which will be empty. To install OpenClaw:
- Click on Compose
- You will see three options: compose manually, compose from URL, or One Click Deploy
- Select One Click Deploy
Alternatively, click on Catalogue to browse all available Docker applications. Search for OpenClaw in the search bar and you will find it instantly.
You will also see other apps like N8n available here — Hostinger's Docker Manager supports a wide range of applications with the same one-click approach.
Click Deploy on the OpenClaw option. A configuration pop-up will appear.
In the configuration panel:
- You will see a hidden Gateway Token — this is your master access token for the OpenClaw dashboard. Copy it now and save it securely. You will also be able to retrieve it from the dashboard overview later, so do not panic if you miss it.
- Optionally, you can enter your WhatsApp number and Telegram bot token here if you want to pre-configure a channel. For this tutorial, we will skip this and set it up from the dashboard instead.
Click Deploy to start the installation.
Step 3 — Wait for Deployment
After clicking Deploy, you will see a message: "Your project is being deployed."
This takes approximately 2 to 3 minutes. You can sit back and wait. When the status column changes to Running, OpenClaw is live on your VPS.
About AI credits: Hostinger includes 10 free AI credits (roughly equivalent to $10 of API usage) powered by Nexus AI API. This gives you access to all major AI models right out of the box — no OpenAI or Anthropic key needed to get started.
In the Access column, you will see a link to open your OpenClaw Gateway.
Step 4 — Access the OpenClaw Dashboard
Click the access link in the Docker Manager. Your browser will open the OpenClaw Gateway login page, which asks for your Gateway Token.
Paste the token you copied in Step 2 and click Login.
You may see a message: "Starting OpenClaw" — this takes a minute or two the first time.
After it loads, you might encounter a screen that says: "Control UI requires device identity." This is a browser security requirement — the OpenClaw UI needs to run over HTTPS or localhost. There are two ways to resolve this:
Option A: SSH Tunnel (quick, no domain needed)
Copy your server IP address and the OpenClaw port from the Docker Manager. Then run this command in your terminal:
ssh -L [local-port]:[server-ip]:[openclaw-port] root@[server-ip] -p 22 -N
Replace the values with your actual server IP and port. If you set up an SSH key, it will connect silently. If not, enter your root password.
Once the tunnel is running, open your browser and go to:
http://localhost:[local-port]
You will be logged directly into your OpenClaw Gateway.
Option B: Custom Domain with HTTPS (recommended for permanent access)
This is the better long-term solution. See Step 6 below for the full setup.
Step 5 — Connect WhatsApp to OpenClaw
Once you are logged into the OpenClaw Gateway:
- Click on Channels in the left navigation
- Find the WhatsApp tile — it will show "Not Linked"
- Click Show QR
- A QR code will appear on screen
- Open WhatsApp on your phone → Settings → Linked Devices → Link a Device
- Scan the QR code with your phone camera
- Click Wait for Scan in the browser
Once scanned, the page will reload and WhatsApp will show as Configured → Linked → Running → Connected.
That is it. Your AI assistant is now live on WhatsApp, running 24/7 on your Hostinger VPS.
Step 6 — Set Up a Custom Domain with HTTPS (Recommended)
The SSH tunnel method works, but it requires you to run a terminal command every time you want to access the dashboard. Setting up a domain with HTTPS gives you a permanent, clean URL.
Step 6a — Point your domain to your VPS
Go to your domain's DNS management panel (Cloudflare, Namecheap, or wherever your domain is managed):
- Create an A record
- Name: your subdomain (e.g.,
ai) - Value: your server IP address (copy from your hPanel VPS overview)
- Proxy status: Disabled (DNS only)
- Save the record
Wait for DNS propagation — you can verify it at DNS Checker before proceeding. It usually takes 2–10 minutes with Cloudflare.
Step 6b — Install Caddy reverse proxy
In your hPanel, click on Terminal (inside the VPS dashboard) to open a web-based SSH session. You are already logged in as root.
Install Caddy:
apt install -y caddy
Edit the Caddy configuration file:
nano /etc/caddy/Caddyfile
Add this block at the end of the file (replace with your actual subdomain and OpenClaw port):
ai.yourdomain.com {
    reverse_proxy localhost:[openclaw-port]
}
Save the file with Ctrl+X, then Y, then Enter.
Restart Caddy:
systemctl restart caddy
Caddy will automatically obtain and install an SSL certificate for your domain. Verify it is running:
systemctl status caddy
Step 6c — Access OpenClaw over HTTPS
Open your browser and go to https://ai.yourdomain.com. You will see the OpenClaw Gateway login page over a secure HTTPS connection. Paste your Gateway Token, click Login, and you are in — no SSH tunnel required, from any device, anywhere.
No domain yet? Hostinger includes a free domain with VPS plans. You can claim it directly from your hPanel dashboard under the domain section.
Adding Skills to Your OpenClaw AI Agent
Once OpenClaw is running, you can extend its capabilities with Skills — pre-built integrations and automations you can enable with a click.
To browse and enable skills:
- Click on Skills in the OpenClaw dashboard
- Browse or search for the skill you want
- Click Enable
Example skills available:
- Blog Watcher — Monitors any blog RSS feed at a set interval and sends you a WhatsApp message with new posts
- OpenAI Image Generation — Generate images via DALL-E directly from your WhatsApp chat
- Nano Banana Pro — Requires installing
uvwith brew and adding an API key
Some skills require installing additional packages first. The dashboard clearly labels which ones need extra setup steps before they can be enabled.
Using Your Own AI API Key
Hostinger gives you 10 free AI credits to start, which is great for testing. But if you want to use your own OpenAI, Anthropic, Google Gemini, or Grok API key for full control over costs, here is how to do it.
Step 1 — Create a dedicated API key
In OpenAI (or your provider of choice), create a new project — for example, call it "OpenClaw". Then create a new secret key under that project. Keeping it in a dedicated project makes it easy to revoke and replace the key if it is ever compromised, without affecting other projects.
Step 2 — Add the key to OpenClaw's environment variables
- Go to Docker Manager in your hPanel
- Click Manage next to your OpenClaw project
- Scroll down to the Environment section
- Click to expand it — you will see all current environment variables
- Add a new variable:
- Name:
OPENAI_API_KEY - Value: your secret key
- Name:
- You can add multiple provider keys the same way (e.g.,
ANTHROPIC_API_KEY,GOOGLE_API_KEY) - Scroll back up and click Deploy to restart the OpenClaw instance with the new key
OpenClaw will restart and switch to your own API key automatically.
Security and Exit Plan
Some users are concerned about security when connecting AI agents to their messaging accounts. Here is how to think about it, and what to do if you ever want to stop using OpenClaw.
Security best practices while running OpenClaw:
- Keep your Gateway Token private — do not share it
- Use strong SSH keys instead of password-only authentication
- Use dedicated API keys per project (not your main account key)
- Use Cloudflare in front of your domain for DDoS protection
If you want to stop using OpenClaw completely:
- Log out from WhatsApp (or Telegram/Discord) inside the OpenClaw channels panel — this de-links the account
- Revoke all API keys you added to the environment variables
- Stop the OpenClaw Docker container in Docker Manager
- Delete the project from Docker Manager
- Optionally, reinstall the VPS with a fresh OS from hPanel — this completely wipes all data
This clean exit process ensures your messaging accounts and API credentials are fully disconnected before you decommission anything.
Pros and Cons of Running OpenClaw on Hostinger VPS
👍 PROS
- Completely 24/7 uptime — your AI agent never goes offline
- One-click deployment via Hostinger Docker Manager — no CLI Docker knowledge needed
- 10 free AI credits included — start chatting with your agent immediately
- Supports WhatsApp, Telegram, Discord, Slack, Google Chat in one platform
- Skills system lets you add automations without coding
- Affordable plans — KVM 2 at $8.99/month is excellent value for a dedicated VPS
- Works with all major AI providers: OpenAI, Anthropic, Gemini, Grok
👎 CONS
- Ad campaign card monthly maintenance fee applies after first month
- SSH tunnel setup is needed for initial access without a domain — slight friction for beginners
- Skills that need extra packages require basic terminal knowledge to install
- Not ideal for very high-traffic bots on the smallest (KVM 1) plan
Frequently Asked Questions
What is OpenClaw?
OpenClaw is an AI assistant platform that lets you deploy a chatbot connected to messaging apps like WhatsApp, Telegram, Discord, Slack, and Google Chat. It runs on your own server infrastructure, giving you full control over your AI agent.
Do I need coding knowledge to install OpenClaw on Hostinger VPS?
No. Hostinger's Docker Manager includes a one-click deploy feature for OpenClaw. You do not need to write any code or run Docker commands manually. Basic terminal comfort is helpful for the optional Caddy reverse proxy setup, but even that is just copy-pasting a few commands.
What is the minimum VPS plan needed for OpenClaw?
OpenClaw requires at least 2 GB of RAM. Hostinger's KVM 1 plan (4 GB RAM) or KVM 2 plan (8 GB RAM) both comfortably meet this requirement. The KVM 2 is recommended if you plan to run multiple skills or connect multiple channels simultaneously.
How much does it cost to run OpenClaw on Hostinger VPS?
The Hostinger KVM 2 VPS starts at $8.99/month (on a 24-month plan). Hostinger includes 10 free AI credits (~$10 value) using Nexus AI API. After that, you can top up credits or switch to your own OpenAI/Anthropic API key.
Can I connect OpenClaw to Telegram instead of WhatsApp?
Yes. OpenClaw supports both WhatsApp and Telegram (as well as Discord, Slack, and Google Chat). During the Docker deployment configuration, you can paste your Telegram bot token to set it up immediately, or configure it later from the Channels section of the OpenClaw dashboard.
How do I access my OpenClaw dashboard without SSH tunneling?
Set up a custom domain with HTTPS using Caddy reverse proxy. Point an A record to your VPS IP, install Caddy, add a reverse proxy config block pointing to your OpenClaw port, and restart Caddy. It automatically handles SSL. After that, you can access your OpenClaw Gateway from any browser at https://your-subdomain.yourdomain.com.
Is OpenClaw safe to use with WhatsApp?
OpenClaw runs on your own private VPS — your data does not pass through any third-party servers beyond the messaging platform itself. For extra safety, use dedicated API keys per project, enable SSH key authentication on your VPS, and follow the clean exit plan if you ever stop using it. Always log out from connected messaging accounts before decommissioning the server.
Can I use my own OpenAI API key with OpenClaw?
Yes. Go to Docker Manager → Manage (your OpenClaw project) → Environment variables, and add OPENAI_API_KEY with your key. You can also add keys for Anthropic (ANTHROPIC_API_KEY), Google Gemini, or Grok the same way. Click Deploy to restart with the new keys active.
Final Thoughts
Running OpenClaw on a Hostinger VPS is one of the easiest ways to set up a personal AI agent that works around the clock. What used to require complex server management is now a matter of clicking "Deploy" in a browser panel — and Hostinger has nailed that experience with their Docker Manager.
Whether you want to automate your WhatsApp replies, build a customer support bot, or just experiment with AI agents in your own infrastructure, this setup gets you there in under 30 minutes.
Use coupon code VASHISHTHA10 when you sign up to save extra on your VPS plan.